I learned about the Creality CR-30 3D printer back in the fall of 2020, but did not have an application for that technology. 3D printers with belt drives for the build surface offer two advantages: you can print large batches of objects unattended, or you can print very long objects (like a 4 foot beam). I sometimes printed batches of objects, but had no use for printing long objects. I had purchased a Raise3D N2+, which can print 2 foot tall objects, but had never taken advantage of that feature, and eventually sold that printer.
But, as luck would have it, I now do need to print long objects. In fact, I need to print 4′ x 1″ x 2″ objects. I could have signed up for the Creality CR-30 KickStarter back in the fall of 2020, and expected delivery in May of 2021, but I failed to understand my need at the time. And, of course, KickStarter schedules are notoriously optimistic: I might not even be able to order a CR-30 in May.
Two other alternatives exist in April of 2021: the BlackBelt 3D printer (here) and the PowerBelt3D printer (here). The former runs around $12,000; the latter is a kit for $750. I chose the PowerBelt3D kit, because I’ve built kits for a long time and the price was right. There is a fairly negative review of that printer here, but a conversation with Adam Fasnacht, the designer of the PowerBelt3D printer, gave me confidence that most of the issues listed in the review had been addressed. I did the research on the printers on April 6th; I received the kit on April 8th. Very responsive!
My first reaction to the box of parts was positive. Everything was packed carefully and neatly, and Adam had created a series of construction videos on YouTube, so I started in.
I do much better with written documentation than with video documentation. It is easy to flip through a manual (or scroll or search through a PDF), but remembering which video you saw something in, and then scrolling through that video, searching visually, is time consuming. In addition, the platform I used to view the videos, a large Samsung Galaxy tablet, had a really annoying quirk: when you pause a video, the image becomes dim, too dim to see easily. So, I found the video approach to be inherently … wrong.
Adam created the printer design back in 2018, and received enough feedback that he is now on Version 2 of the design. I admire his desire and energy to continuously improve the kit, but this created documentation problems. His initial video is 1 hour long, a marathon, and out of date; his V2 videos are split into about 15 parts. But neither of them are complete or current. Finding the required instructions was not only frustrating, but often impossible. I did a lot of things twice.
Some of the problems had to do with the way Adam made the videos. Sometimes he would pick up a [black] part, flip it around to show you the orientation, and then work with the part. Some sections were sped up to reduce the length of the videos. Often I had to single frame through the videos in order to see what he was doing. And I had to repeat sections of the videos, sometimes as often as 8 times, before I could figure out what he had done.
Adam rarely said out loud what was most on my mind. For example, there are 4 ways to lay out the side rails of the printer. He never said out loud how to identify the orientation of the side rails. Sure, he laid them out on the video, but the key points for orientation are the locations of the black holes on the black parts. I eventually figured it out, but it took a lot of time. This pattern of not answering the obvious questions when it came to part orientation continued throughout the videos. He also spent a lot of time showing you the obvious: after positioning the parts on an assembly, he made you watch as he tightened each and every screw; he could have stopped after the first one. Much of the video is not necessary, and much of the necessary parts are missing.
This is less of a kit than a puzzle, or an adventure, or a game. If you go into it thinking of it as a game or a challenge, you will do much better than if you think of it as a kit. Let’s say it is a kit without adequate instructions.
One example is the diagram showing how to wire up the printer. There is no wire layout diagram, so wire routing is left up to the imagination; I wired everything 2 times, and in places 3 times. But more importantly, the diagram showing the location of the connectors on the controller board lacks some essential information. One section is labeled for the 12V DC power input to the board. But there is no information about which of the two connectors is positive and which is negative. I figured it out eventually (it is, after all, a game, not a kit), but that was needlessly frustrating, especially for a V2 kit.
At one point he explains that the computer board is labeled, so you can figure out where everything goes. That is true. The board is labeled. On the bottom. But his instructions are to attach the board to the case and then wire it up. At the time that you need access to the labels, they are no longer visible. On the video he says that he will put a copy of the board layout on his web site. It might be there, but I was unable to find it.
Some parts did not fit. He said to insert the leftover PTFE tubing over an extruding threaded rod, but nothing I did allowed me to get that tubing in place; other buyers on the FaceBook group had similar problems. That left the wire bundle from the extruder assembly dangling a bit. And that meant that the wires were in the way of the moving Y parts. That resulted in my creating another custom part to hold the wiring harness. Again, not a big deal, but annoying.
And the controller case is attached to the rails on one side, and hangs unsupported on the other side. While pressing the connectors onto the control board, I heard a cracking sound: the case had cracked. Putting feet under the unsupported side of the board would be wise, so I did so.
At the end of the construction videos, after everything is wired up, Adam says “happy printing” or something similar. When I turned the printer on, the fans rotated, but the LCD did not light up. After a week of troubleshooting with Adam, including attempting to re-flash the firmware, it is clear that the board is dead. I asked if I could buy a replacement from him, but he never answered the question. The board must have been working when he flashed the firmware on it originally, so it may have been damaged at some point later on.
And then there are the obvious design flaws.
For example, in order to load the firmware, you have to copy the firmware.bin file onto the SD card on the controller board. And in order to do that, you have to pop the SD card out of the board. And in order to do that, you need to be able to access the SD card, physically. The case that was printed to hold the computer board has a solid wall where the SD card needs to be accessed. I had to un-wire everything and cut a hole in the case. I do not understand how a V2 kit could have a case which makes loading the firmware impossible. But, remember, as a puzzle this is kind of cool.
And then there were the mis-labeled or missing parts. Two of the motor mounts were shaped differently than in the V2 videos, which confused me for a while (Adam explained that to me). And the part cooling fan mount was not included at all (he supplied an STL for that part, and I had it printed in an hour, so not a huge deal).
The 12V power supply would only provide 10.4 volts, so I grabbed a spare supply that I had lying around; not a big deal for me, just an annoyance. Adam never offered to replace the power supply.
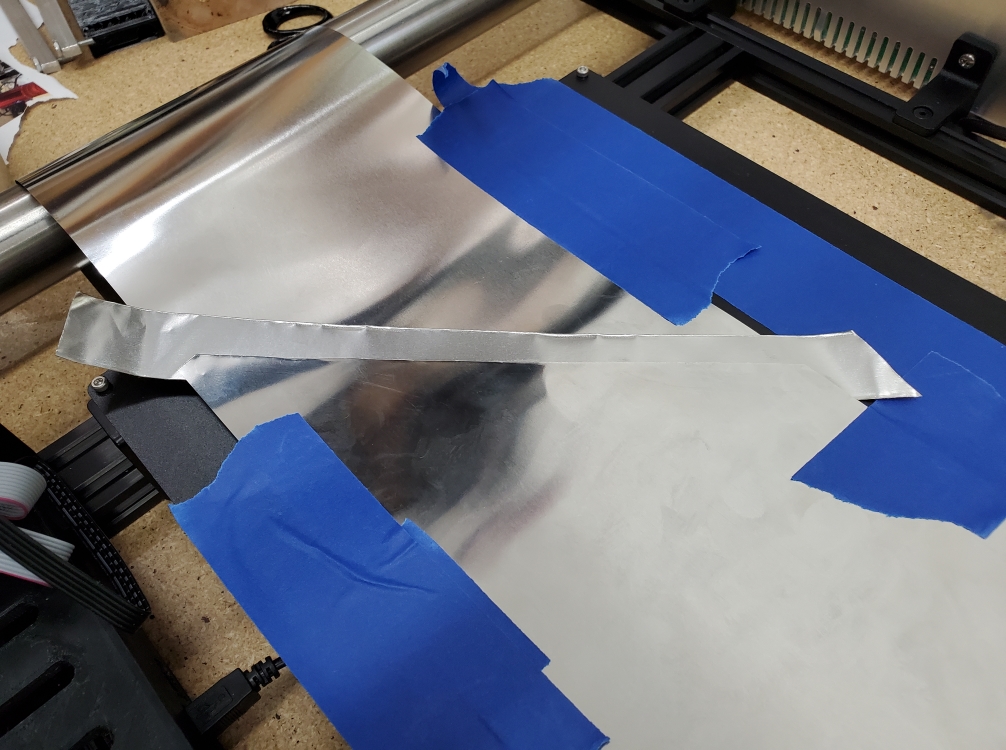
The power supply has some exposed 110V wiring, so Adam designed a 3D printed plastic cover to make things safe. He supplied a power switch that was supposed to snap into the cover. It went into the cover easily, but fell right out, which was not safe at all. I could have drilled some holes and screwed that cover in place, or glued it in place, but it became clear that there was not enough room inside the cover for all of the wires. Cramming 110V wires into an enclosure is not a great idea. I ended up scrapping the switch and cover and doing things differently. Perhaps the switch was supposed to come with spring clips that held it in place. Even so, the crush of wires would have concerned me. It looks so easy on his video!
The bed heater is mounted on four custom L brackets, but the holes in the brackets did not line up with the holes in the heater. I ended up drilling new holes in two of the L brackets in order to mount the heater. Not a big deal if this is a puzzle, but annoying if this is a V2 kit.
BlackBelt has its own version of Cura for slicing models, and Creality has a similar version of Cura. I found the BlackBelt Cura to be very buggy (it crashed without warning about half the time I used it, and created poor slices). The Creality Cura crashed less often, and produced better slices. But I found Cura, in general, to be much less friendly than either Repetier Host or PrusaSlicer. Fortunately, Adam switched over to IdeaMaker by Raise3D, an slicer that is a bit quirky, but I like the UI much better than Cura. Adam provides simple instructions for configuring IdeaMaker on YouTube (although the downloadable files have some file naming problems).
It is likely that I misunderstood some things along the way; maybe some of the above is my confusion, and not something for which Adam should be held responsible. But the sheer quantity of problems is way beyond what I was expecting. The printer is described as “easy to assemble” on the web site. I beg to differ with this description.
Adam also said “We’re on a mission to empower people with technology. We can’t do that without standing by our products.” and “If anything arrives non-functional, or breaks within 90 days of receiving your products, we will replace those components free of charge.” Adam did not live up to his promises. Even after I offered to pay for replacement parts, Adam ignored my request. He has replaced none of the components, let alone free of charge.
As of this moment (April 19th), the printer still does not work. I have ordered a replacement controller and LCD display (not sure which one is dead). I now have to flash the firmware, which could be quick and easy, but nothing has been quick and easy so far.
This is not a kit for the average Maker. If you have assembled a Prusa MK3S kit, for example (I have done this twice), be prepared for an entirely different experience. If you have never assembled a kit before, this is not the place to start.
Adam started out very helpfully, but after I peppered him with questions (some of which I eventually answered for myself) he fell silent, and I had to finish the build by myself. I can understand his frustration with my dozens of questions, but I hope he can understand my frustration with his poor instructions, bad parts, and design flaws.
I showed this review to Adam, asking for comments about errors of fact. After three days, I gave up on getting a response from him. If he responds at some point, I will consider editing this review.